
Another post as part of an ongoing mission to go from a photogrammetric (with Autodesk’s Recap) scan of my dog’s head to an aluminium cast of it, to use as a coat hook or something or something equally useless. The last few attempts have been pretty disastrous, so I have decided to go with tried-and-tested: lost wax casting.
Cire-Perdue (or just Lost Wax)
I bought this liquid silicone stuff from an art shop. It was pretty expensive, I could probably get it cheaper online, but I am impatient. I think they use the stuff for making special effects masks. The Wikipedia page for lost-wax casting says the earliest record of the technique is ~6 thousand years old, so pretty sure there’s a more low-tech (and cheaper) alternative to expensive casting silicone.
From here on in I am going to follow(ish) the 12 steps in the lost-wax process section of the Wikipedia page, so my headings follow those headings. I think I am only at step 2 of 12 :(:
- Model-making.
- Moldmaking.
- Wax.
- Removal of wax.
- Chasing.
- Spruing.
- Slurry.
- Burnout.
- Testing.
- Pouring.
- Release.
- Metal-chasing.
(2) Moldmaking
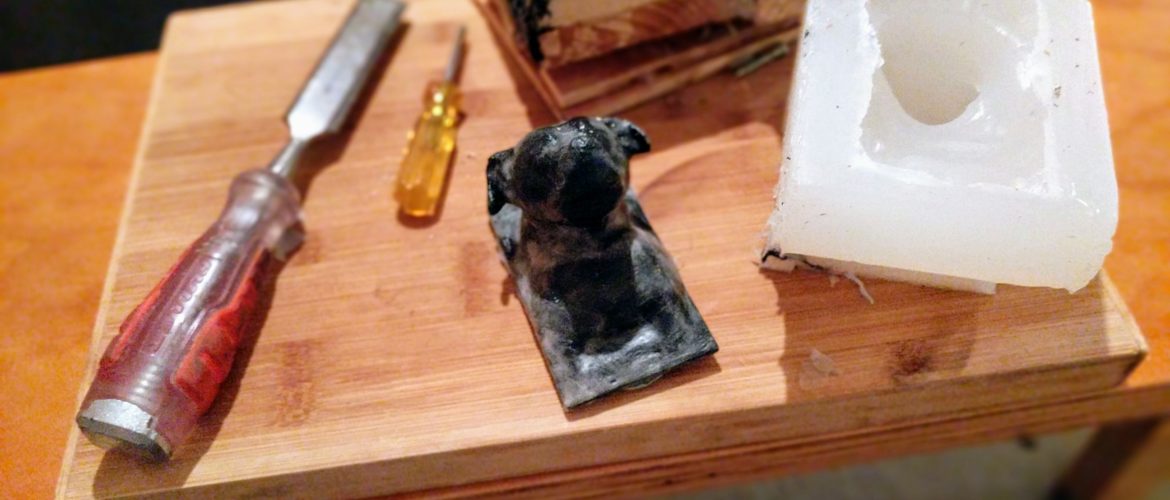
I built a wooden box with some profiling so it closely fitted the 3d-print of the doggie head (to reduce the volume of silicone I needed). I painted the 3d-print with a thin layer of (melted candle) wax to iron out the print layers and make releasing from the mold a little easier.
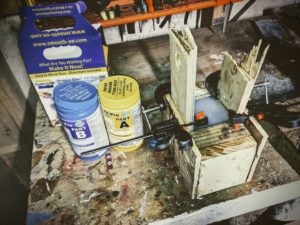
Silicone stuff on the left, mold on the right.
I had some mold releasing wax left over from something-or-other so I waxed the inside of the mold box with that. I held the 3d-print in place with blu-tak.
The liquid silicone is a two-part system. Once you have mixed them you have ~12 minutes before it starts to go off. The packet says it set in 45mins – I left it overnight.
I was worried that I would not be able to get the 3d-print out of the silicone and I would have to carefully scalpel the mold in half. Silicone turned out to be super flexible and super tough and did not stick at all to the wax coating on the print. Easy.

Silicone negative on the left. Kind of cool thing: can now make a cast in *anything*
Next step: Step(3) Wax.
Incidentally
I was in Jaycar today, buying one of these (see Incidentally II). I noticed they sold 3D printing filament, though only, annoyingly, in 1.75mm, not 3mm. I also noticed they have ‘wax filament‘. So I could have gone straight to step (4)
Incidentally II
Elephant in the room: step (10), the actual casting bit. I have decided to make an electric foundry furnace and the associated accoutrements. This thing is mushrooming – the 15A to 10A plug conversion was for a MIG welder. Mmmmmwwwwahahahahahahaha!